Free Tutorial
Duration: 16 mn
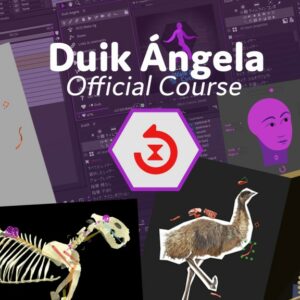
Welcome to the official 15-minute Duik Ángela introductory tutorial, by its lead developer, Duduf!
In this tutorial, you will learn the basics of the character rigging and animation process in Duik Ángela, from the creation of the armature to the animation of a walk cycle transitionning to a run cycle.
You’ll see that it takes less that 15 minutes to rig and animate a complete character!
This tutorial is a free introduction to the official comprehensive video course about Duik Ángela.
Downloads
Format: Adobe Illustrator and Adobe After Effects 2022
Design by Nicolas Dufresne
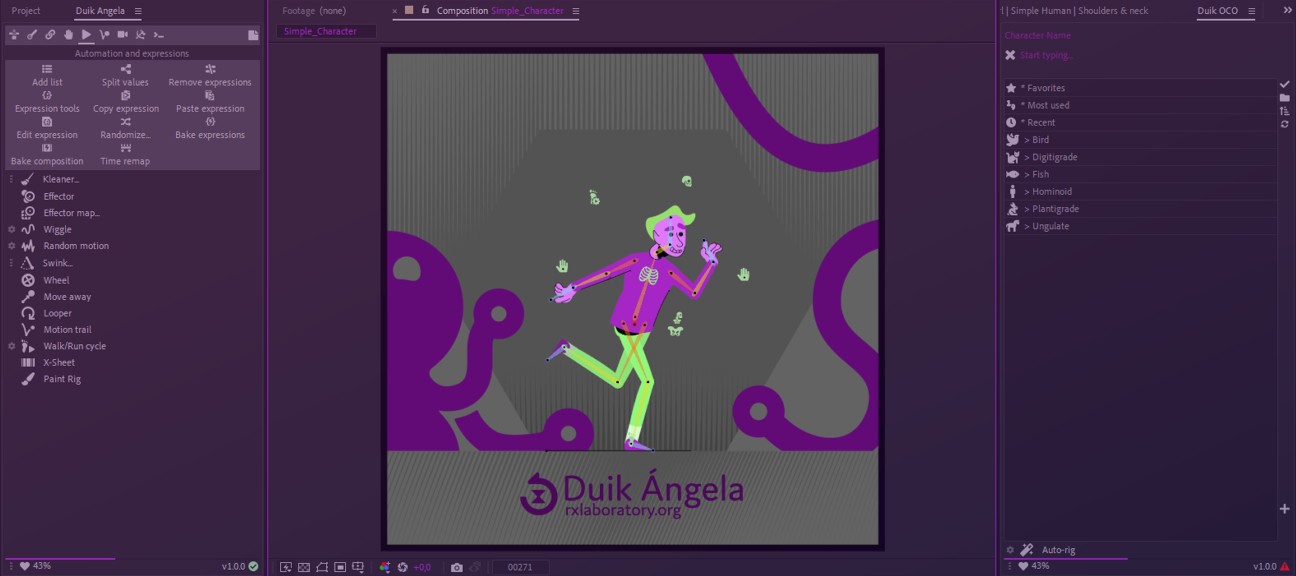
1- Create the armature
Use the OCO Meta-rig panel to quickly create a complete human armature to rig a standard character, and adjust the locations of the bones.
Note: In most recent versions of Duik, you may see only the joints when creating bones, and not actual bones like in this video: that’s because in the bone settings, the type is set to Light Bones instead of Full Bones.
2- Parent layers
Automagically parent the artwork layers to their corresponding bones using the Link Art feature, in the Bones panel.
This tool can parent the layers using either by measuring their distance to the bones, or using their names. Hold the [ALT] button to use the names instead of the distance.
3- Autorig
Use DuGR to manage this big bunch of layers and bones (download it here).
Rig the whole armature in a single click using Duik’s versatile Autorig, available both in the OCO Meta-rig panel or the Bones panel or the Automation panel.
Don’t forget to save your project and keep it as it is now, to continue with the animation in a new project, and make sure you can retrieve the clean rigged character to edit it or re-use it in multiple shots and projects.
4- Extract controllers
Extract the controllers from the rigged precomposition to keep your project tidy. This feature is available in the Controllers panel.
5- Walk and Run cycles
Use the Walk/Run cycle feature from the Automation panel to easily and quickly animate your character!
Conclusion
If you need help, join us on our chat server on chat.rxlab.info!
You can also use the comments below if you have questions about this tutorial, and don’t hesitate to answer other people comments and questions, help each other, this space is here for the community!
Premium Tutorials
-
 The Official and Comprehensive Video Course about Duik Ángela (en/fr)Suggested Price: 75.00 € ( 62.50 € ex. tax )
 -
 Rig and animate a cute robot with Duik Ángela in After Effects (en/fr)Suggested Price: 6.00 € ( 5.00 € ex. tax )
 -
 The comprehensive course about animationSuggested Price: 40.00 € ( 33.33 € ex. tax )